I Did Not Kill Stanley Lieber: How to draw (with 9front)

v1, 2026-07-09
The penultimate paper on paint(1) and the 9front art machine.
- 0 Questions.
- 1 How to draw
- 2 paint(1)
- 3 Image Operations
- 4 Get it out!
- 5 EOF
0 Questions.
What is How to draw?
This is a document that will teach you how to
be just like me, drawing on computers running an operating
system you know nothing about.
Who might How to draw appeal to?
- perverts
- robots
- witches
Who will How to draw not appeal to?
- artists
- atheists
- iconoclasts
Why has How to draw been submitted to OCC 2026?
My 9front art machine is an old computer. It was used to create this document and
most of the visual attachments.
What's the tl;dr version of How to draw?
Click and drag.
How to get started with 9front?
Before you scroll any further, it is strongly recommended that you first read Free Carrots #8: How to draw to familiarize yourself with the history and philosophy of drawing, and hardware and software options you might want to explore.
With that out of the way, this is:
1 How to draw
To draw you need two things. Something to draw with and something to draw on. The natural inclination might be to use a real device that you can touch with a pen and produce lines, but there are worse and less convenient ways to draw with 9front that you might prefer. While this document is written with a computer one can draw on in mind, most of it is applicable to any of the input methods below. Maybe you can think of new ones.
1.1 The Machine
1.1.1 A Computer
If you don't care about drawing on screens, you can learn How to draw on any computer running 9front.
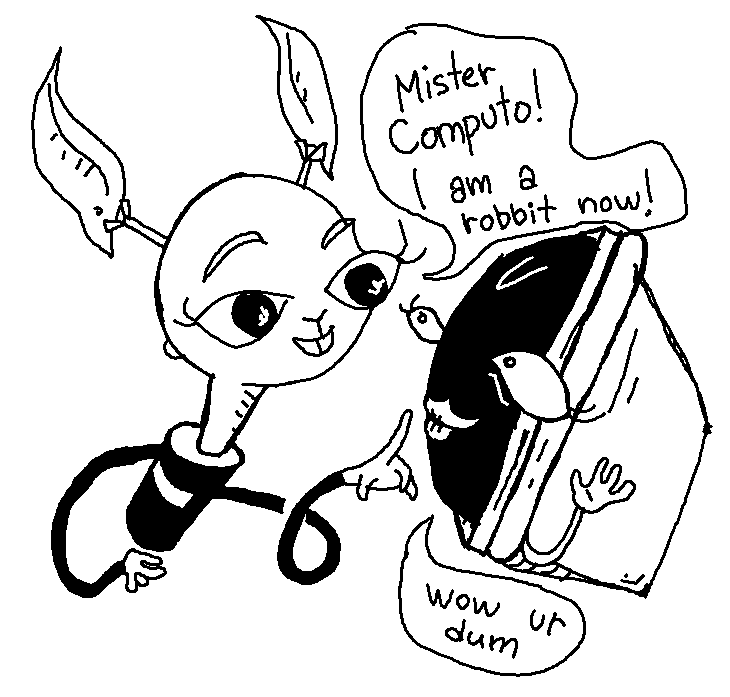
1.1.2 Two in One
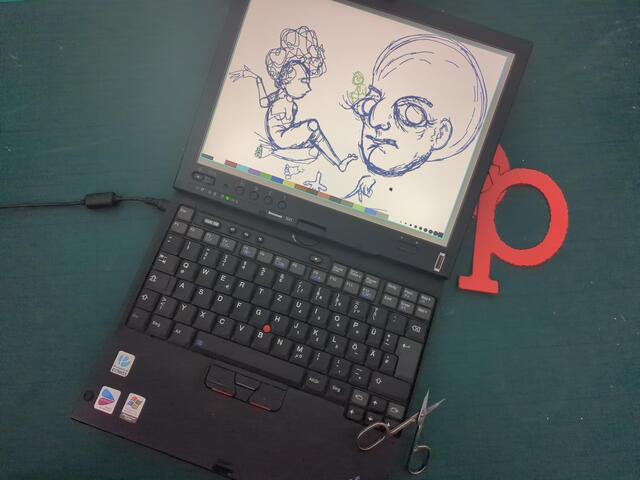
All in one. Canvas and brush - perhaps the ideal choice for those who like to draw on paper. Wacomized laptops with pens. Crack the screen open and draw on it. Here is a list of devices proven to work well for the purposes of How to draw:
- ThinkPad X41t
- Thinkpad X60t, X61t
- ThinkPad X380 Yoga
- ThinkPad X1 Yoga 3rd Gen
- ThinkPad X1 Titanium Yoga
There's probably a million other 2in1 9front art machines that work well, you just have to find them, and preferably tell someone you did.
1.2 The Input
1.2.1 Mouse
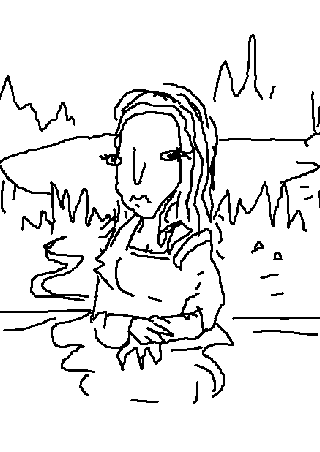
Mouse drawing is a very old technique. Favored for its compatibility with any computer that has a mouse.
1.2.2 Finger
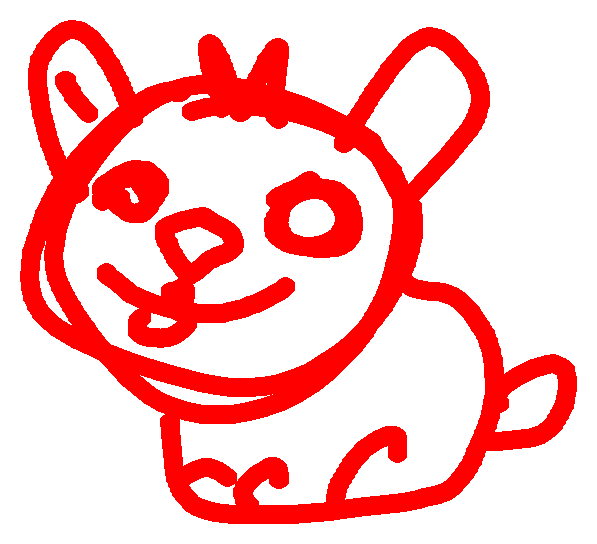
Touching the screen emulates left mouse clicks. There's no way to emulate any other, so a mouse needs to be kept nearby. Some people's entire gimmick depends on the fact that they finger paint their art. If you have a device that allows it, you can finger paint with 9front.
1.2.3 Tablet
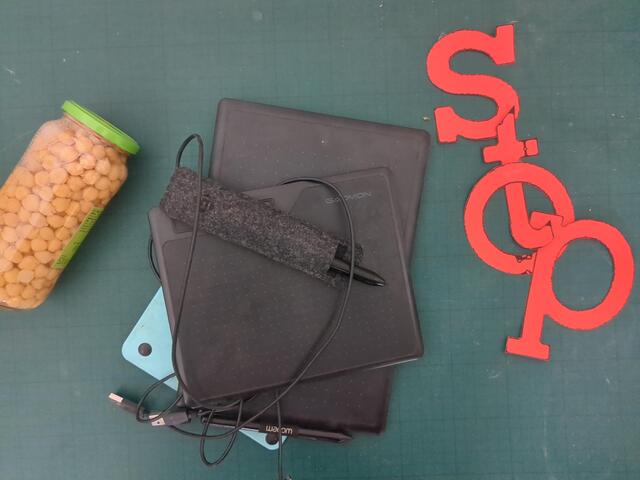
External tablets with screens will (probably) not work with 9front.
External tablets without screens might work. Similarly to 2in1 drawing computers, external tablet pens with buttons can potentially simulate all three mouse clicks. I've seen it.
Of the three tablets that I personally tried, the one to recommend is GAOMON S620
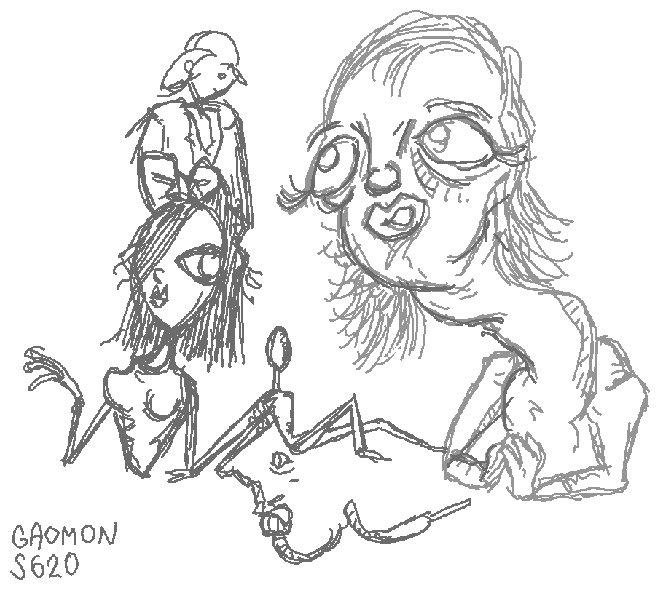
Bought specifically for 9front, I ended up drawing the bulk of early Techno-Mage with it in OpenBSD. It still works great in 9front. Plug n play. Not so much in OpenBSD anymore.
The other two:
- Acts like a touchpad (relative positioning) Wacom CTL-672
- Does not work Wacom CTL-490
Some more information on tablets: [fqa] 3.2.4 - Tablet Digitizers
1.2.4 Keyboard
You can't really draw with a keyboard (though you can write pictures),
but you can't get away without using it either. For tablet computers, inaccessible physical keyboards,
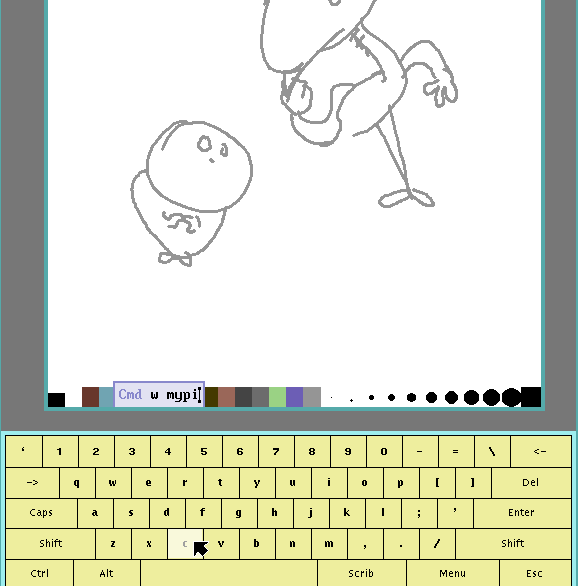
and other obscure setups, there is bitsy/keyboard, an on-screen keyboard.
It has to be started through rio with the -k option:
% rio -k 'bitsy/keyboard -n'
1.2.5 Drawterm / vnc
Drawterm into a distant and/or virtual 9front computer, use any of the aforementioned methods and devices, and a million more. You'll probably have a bad time, but the size of your tool box will grow drastically. You could finger paint with 9front from your Android telephone, mouse draw from any Linux and MacOS, use all the input devices that don't work with 9front from Windows,... Any combination of these will impress your hypothetical employer.
1.3 The Medium
All image operations, drawing, cropping,... are performed on files in 9front's internal image(6) format. This is the default for everything this document works with. For producing pictures this is irrelevant and you never have to think about it. It is only after you want to share your creation with the wider world that you will want to convert it to a different format.
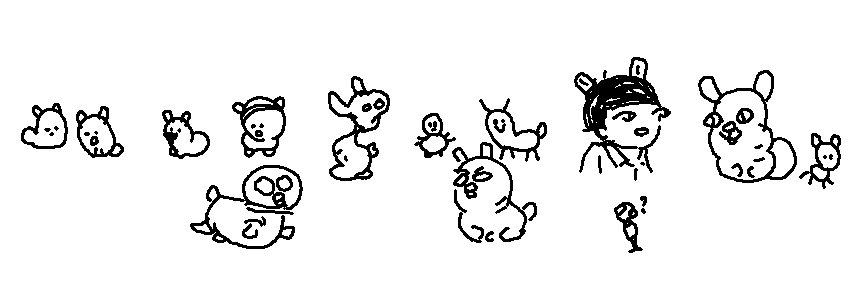
I usually name my 9front picture files file.pic. You can call
them whatever you want.
2 paint(1)

While there is a fairly large selection of drawing software for
9front, this document concerns itself with paint(1) only,
the original 9front drawing program.
Not many know where it came from. Some say it manifested
itself out of nowhere. Some blame cinap. Whatever the myth of origin, today paint(1)
is known as one of the 7 princes of hell.
2.1 Getting Startled
Forget what you know about digital art. Forget what you know about drawing.
As you read on, you will realize that working with paint(1) is
much closer to drawing with physical paper, ink, and colors than any other
digital drawing program. It's like analog art, but not really.
Like with everything, it is advised you read the documentation of the programs mentioned in this paper. The functions and options listed and described here aim to explain to the reader How to draw, they only cover what is potentially useful for achieving that goal.
2.1.1 Pen and Mouse
Tablet and computer pens and their buttons only simulate mouse inputs. This document will only reference mouse operations. It is up to you to learn how these are performed with your pen.
Hovering about simulates mouse movement, touching the surface simulates a left mouse click (or hold). In the ideal world a pen has two extra buttons. One for middle click, one for right click. In the less than ideal world, one of the buttons emulates either middle or right click, and the other button puts the pen into a different device mode (this is usually used for mapping the button to a different tool) - in 9front, this might not do anything, or it might emulate the third otherwise missing mouse click. Your mileage may vary.
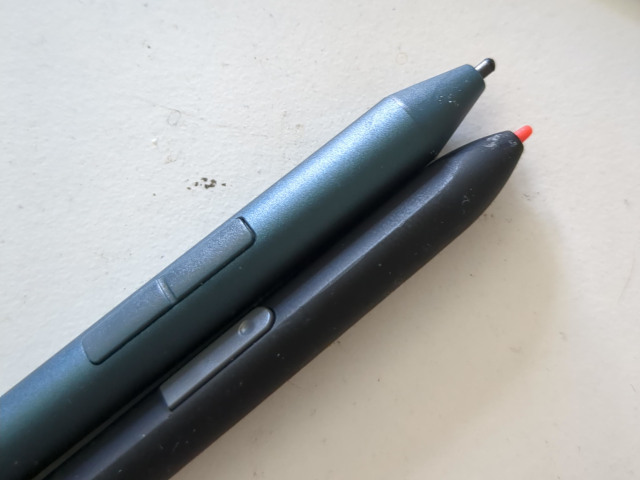
If your pen only has one working button that emulates right click, you can simulate middle mouse click by holding shift and then holding the pen button. As an example, you will erase when holding the button, you will pan around when holding shift with the button.
For the most part, you will want to keep both keyboard and mouse nearby to perform the operations your pen cannot.
If your pen can simulate all three mouse clicks, you may be satisfied with just a virtual keyboard (1.2.4) when using paint(1).
2.1.2 What paint(1) cannot do for you
No pressure sensitivity: paint(1) and 9front in general have no support
for it. Yet.
No layers, no cut-n-paste: what you draw is what you get. This limitation and potential alleviation is
explored below (2.4). You will benefit from approaching paint(1)
as if it were a piece of paper.
2.1.3 paint(1) Keys
Save your picture: w - write file - press w and type the file name you want your picture saved as.
Next time you press w, the last file name you put in will already be shown. To write repeatedly into the same
file just press w and Enter. Do this often. Once you've saved your picture to a file, you can open
it in page(1) or perform other image operations on it.
Open a picture: r - read file - press r and type the file name of a picture you want to open or reload. Like
with w, once you read a file once, the file name will be shown in the prompt. r is useful for performing external image operations on the file you're currently drawing, and then reloading the modified file in paint(1).
Transform: | - transform the canvas by piping it through a command.
The only time I use it is with rotate(1).
| rotate -u
Redirection: < command - perform some operation on a file and read it in paint(1). This will replace
whatever currently exists on your canvas.
Open file glenda.pic with a 50 pixel black border
< crop -i -50 glenda.pic
Open file glenda.pic (same as r, but does not replace the filename in the w/r prompt)
< cat glenda.pic
Redirection: > command - perform some operation on the current canvas and write it to a file.
Add a 50 pixel black border to the current canvas, rotate it by 90 degrees and write (save) it to file modified_glenda.pic
> crop -i -50 | rotate -r 90 > modified_glenda.pic
Make a backup of the current file. This will not change the pre-filled file name in w
> cat > backup_glenda.pic
2.2 Canvas
In paint(1)'s context, the word canvas is understood as the area (a rectangle)
that contains your drawing.
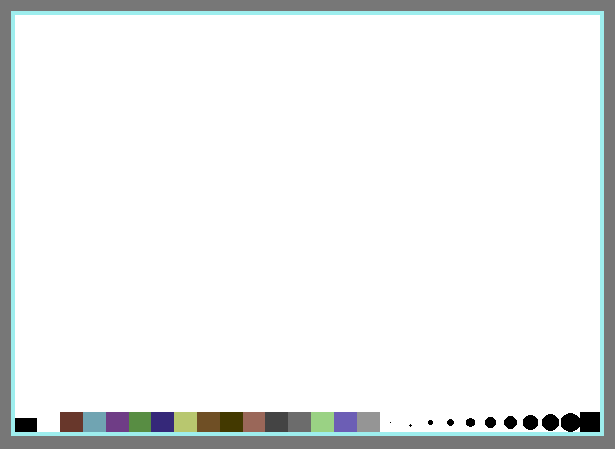
When you start paint(1) you are greeted by a white window
and a toolbar. Even though you won't be able to tell, you can pan around
the endless white in any direction for all eternity. This is what an empty
file looks like. It is only after you've drawn (or erased) your first pixel
that the canvas is created.
paint(1) considers the farthest placed pixels as the edges of your
canvas. It does not care how big your window is
(erasing pixels still counts as placing pixels, this means that if you middle mouse
somewhere in the aether, paint(1) will consider that part of your canvas).
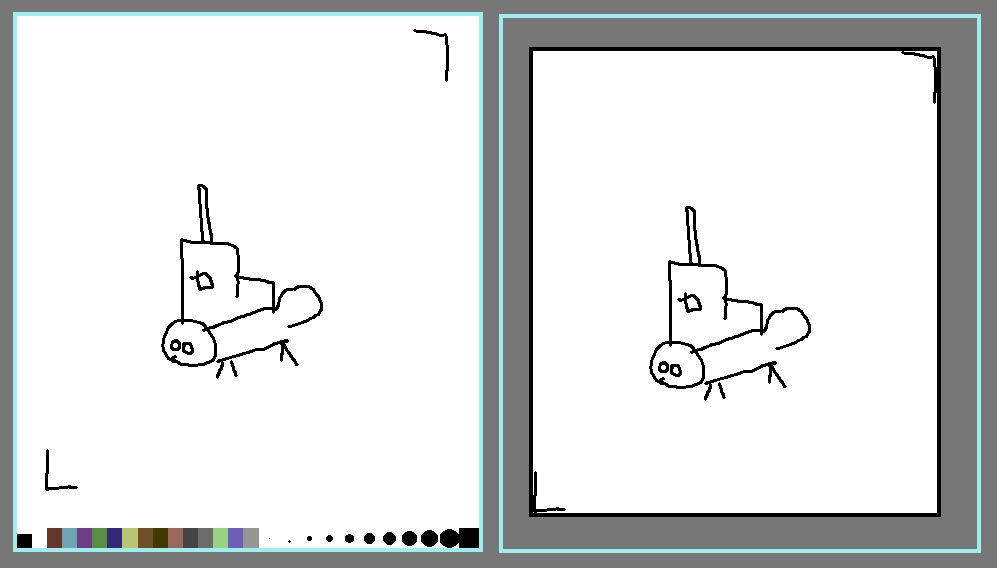
paint(1) on the left, page(1) on the right:
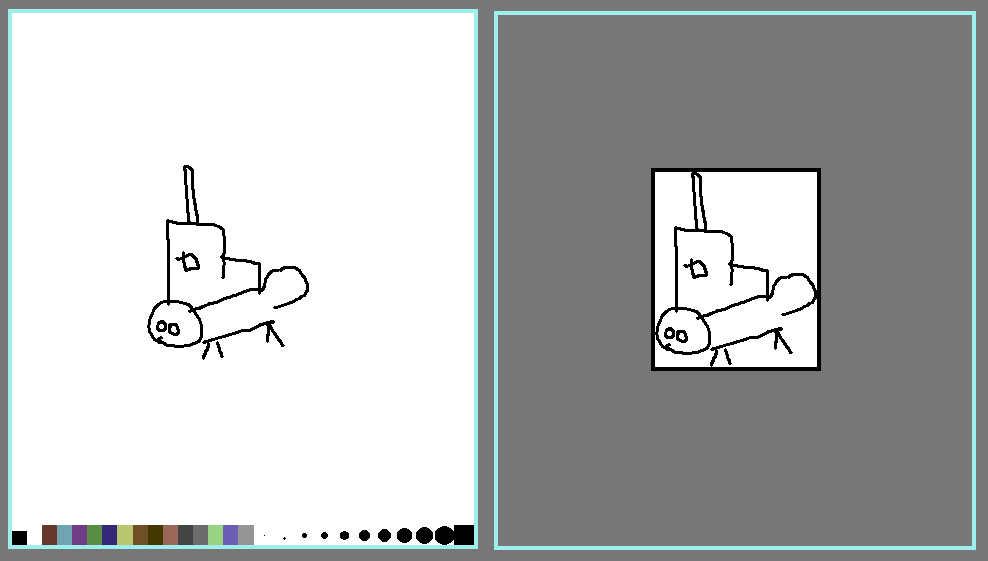
Notice how the canvas expands after arbitrary crop marks were drawn in the corners.
2.2.1 Treat the initial window size of paint(1) as your canvas
It will prove benefitial to think ahead. Consider the paper metaphor - treat
the arbitrary size of the paint(1) window you create as the size of your canvas.
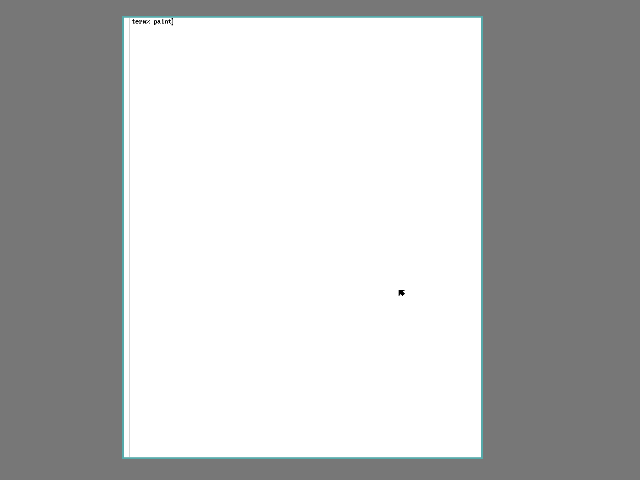
Start paint(1), draw some crop marks in the corners, start drawing.
You will still pan around the canvas, nobody likes to draw at the window border, but
this self-imposed limitation will give you a clear idea when to stop. After you're done
you can crop off whatever you don't like.
If you need to produce a picture with exact dimensions, this is explored further down (3.5)
2.3 Tools
Selection of any tool is done by clicking the tool bar at the bottom with left mouse. Where applicable, key shortcuts are listed.
2.3.1 Colors
Colors are selected with left mouse. Right clicking any color in the toolbar prompts for a hexcode. This is how you can change your palette.
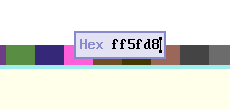
paint(1) will not remember your palette after you close it. You will
have to change the palette every time you open a new window. If you
want to use the same palette on different drawings, keep your window open and use r.
If you plan to use more than 16 colors, you can create multiple paint(1) windows
and jump between them, as opposed to changing the colors in a single one.
Make two (or more) paint(1) windows and open the same picture file in both with r.
r picture.pic
In the following picture example I used the fill tool to color in the letters "heel" in the right window. Then I pressed w and Enter. I moved to the left window and pressed r and Enter. Then I continued in the left window.
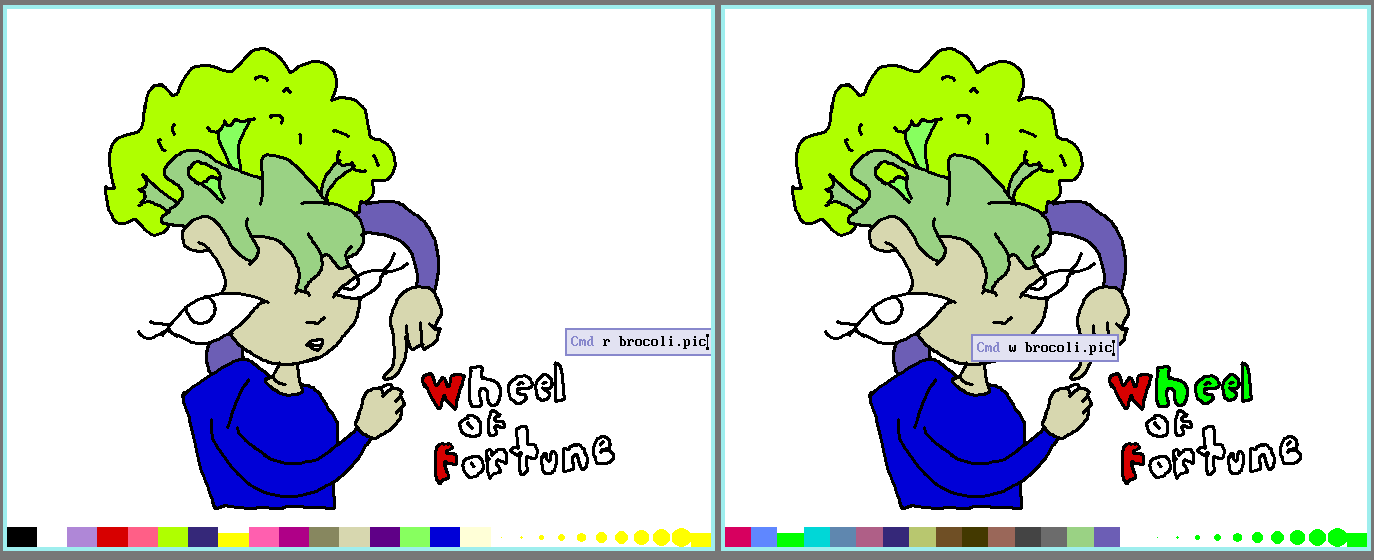
This is not an overtly complicated solution, you just have to remember to write and read every time you move to a different window.
2.3.2 Brush
0-9, left mouse - select the desired brush size, click and drag to draw.
2.3.3 Fill
f, c, left mouse, middle mouse - the obvious function of the fill tool is to turn neigboring pixels of the same color a different color. This is done by selecting the tool and color, and left clicking somewhere.
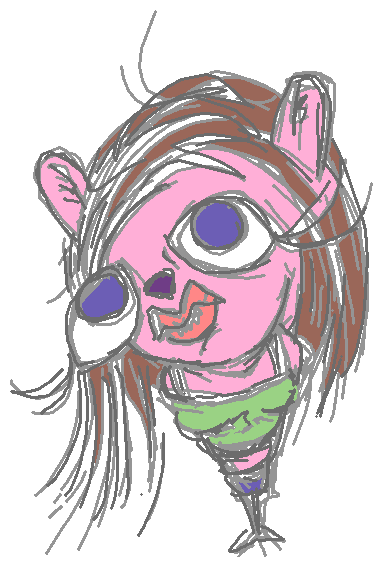
It is also used for changing the background color of your canvas. This can be achieved in two ways. Either middle click a color in the tool bar, or select the fill tool, select a color, and click outside the area of your drawing.
Importantly the set background color is what the eraser will turn everyting into.
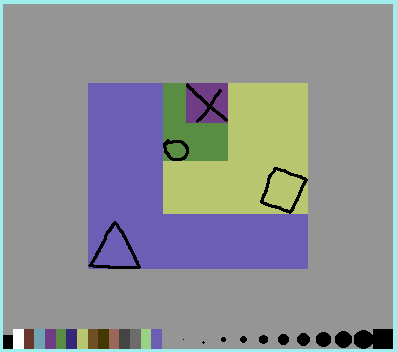
The above picture and the following steps explain how changing the background color does and does not modify your drawing and the current size of your canvas:
- 1.
paint(1)starts (canvas is empty) - 2. select fill tool and middle click purple color
- 3. all of
paint(1)'s window is now purple (canvas is still empty) - 4. select brush and black color
- 5. draw X anywhere - this now defines the size of the canvas (canvas grows to encompass the X)
- 6. select fill tool and green color
- 7. left click outside the (invisible) rectangle that encapsulates the X (the purple rectangle is the current size of the canvas)
- 8. the rectangle with X remains purple, everything outside of it is green (canvas size is the same since step 5.)
- 9. select brush and black color
- 10. draw O outside the purple rectangle (canvas size grows)
- 11. middle click yellow color
- 12. everything outside the rectangle that encapsulates O and X is yellow (the green rectangle is the current size of the canvas defined in step 10.)
- 13. select brush, black, and draw RECTANGLE inside the yellow (canvas grows)
- 14. ...
Simply put, to change the background color, use the fill tool and click anywhere outside the area that contains your drawing. Anything inside the area will not be affected. Changing the background color does not modify the size of the canvas. If you draw anywhere inside the background area, it stops being the background and becomes a part of the canvas.
Lastly, pressing c will remove everything and change the background to the selected color. This will turn your drawing and canvas into an empty file.
2.3.4 Eraser
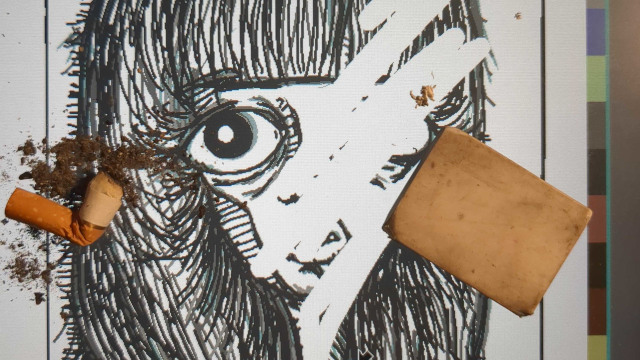
0-9, middle mouse - hold it and drag to replace everything underneath the cursor with the background color. Eraser size is equal to the currently selected brush.
2.3.5 Straight Line
Use a ruler.
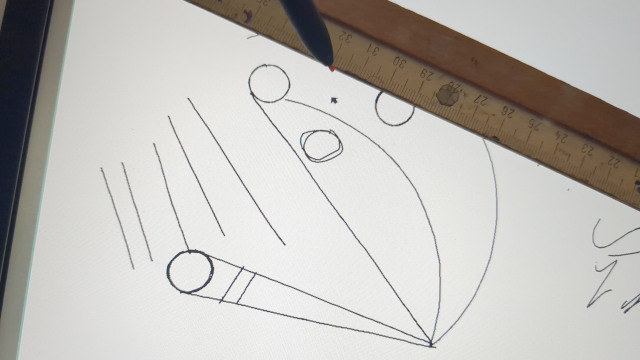
2.3.6 Circle
Use something flat and circular as a ruler.
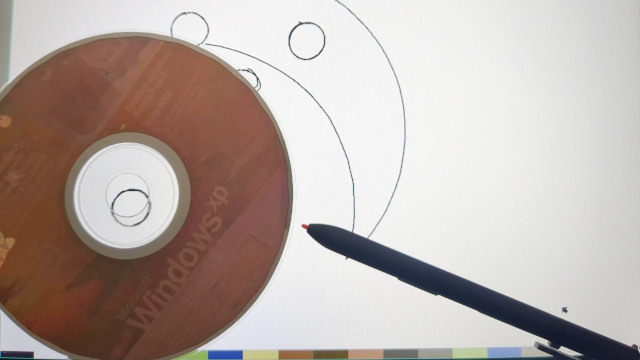
Or measure and predraw your circles with a compass on an onion skin paper, and trace the circles over it.
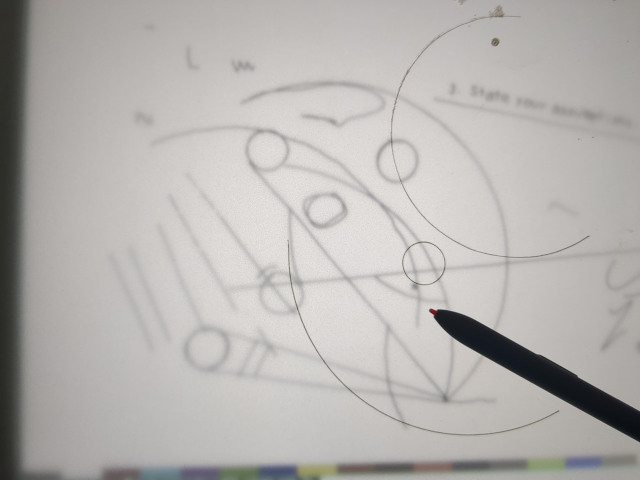
2.3.7 Pan
right mouse - hold it and move around.
2.3.8 Zoom
-, + - zoom in and out. Note that you cannot zoom
out past the original zoom level of paint(1). This is
why treating the geometry of your window as the size of your canvas
makes sense. You can hit Escape any time to see your full drawing.
But if you're too adventurous, and your picture is larger than your
window, there is a way to zoom out and see the whole thing (3.1).
2.3.9 Undo
u - push to undo the last continous segment that was drawn in the past tick. This is an unusual functionality compared to other drawing program where a single undo step erases everything that was drawn between holding down left mouse and letting go. Here, if you draw a single line for 10 seconds, you'll get about 20 undo steps.
2.3.10 Reset
Esc - reset zoom and center the canvas.
2.4 Faux Layers
If one is to approach drawing with 9front like drawing on paper, they might wish to incorporate the idea of sketching the picture first.
A good way to approach this is to select a color you will not otherwise use, in this example HotPink, sketch your picture and then draw over it with whatever color you want your linework to be:
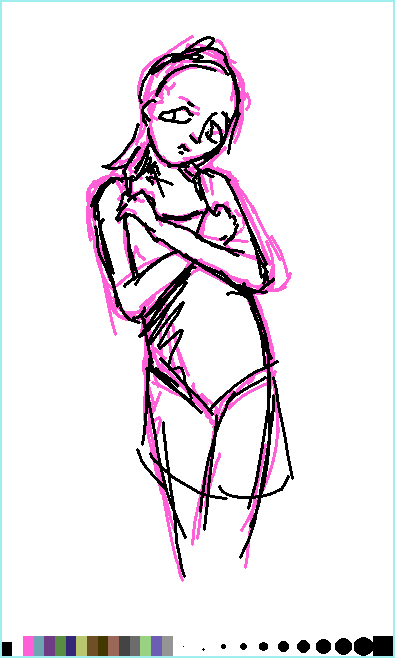
When you're done, you could use the fill tool or very precise
erasure moves to get rid of
the HotPink sketch layer. Depending on your sketch, this will probably take
you longer than drawing the actual picture. It is instead recommended to use
pico to remove a single color layer with a couple commands (3.6).
3 Image Operations
Now that you know How to draw, here are
some extra things you can do to make your experience less jarring.
Note that you can always open any output that went through
crop(1), vcrop(1), resize(1) in paint(1) again.
3.1 page(1)
page(1) is a powerful document viewer. It is the de-facto standard
for displaying image files of various formats, PDFs, ebooks, etc. When you're not
displaying your drawing in paint(1), you will be looking at it through
page(1).
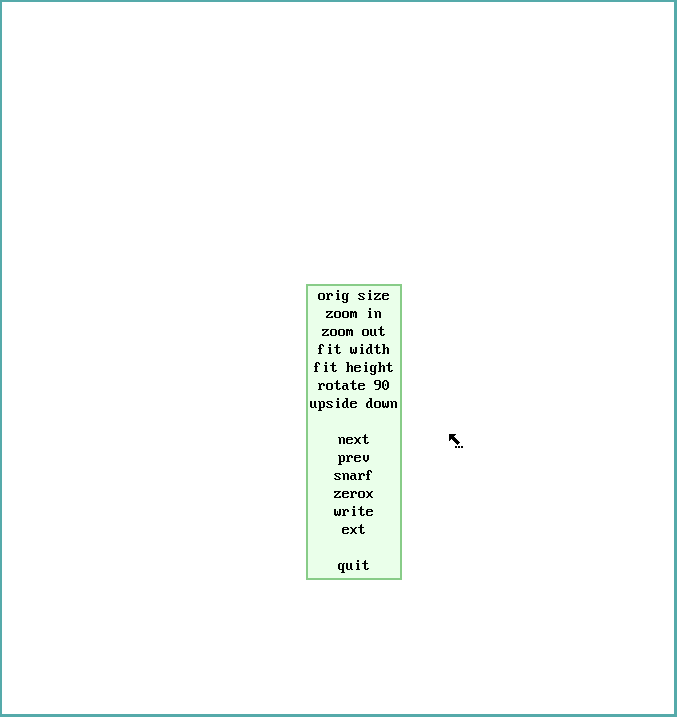
% page my_picture.pic
It is good practice to view the output of an image operation in page(1)
before writing it to a file. Similarly to paint(1), you can press w
to write whatever is displayed in page(1) to a file.
% rotate -l my_picture.pic | crop -i -10 | page
3.1.1 Viewport
You got too into the process and now your picture is too big to fit in
the paint(1) window. Save your picture. Create a
new window with page picture.file. Middle
mouse it. fit width or fit height appropriately.
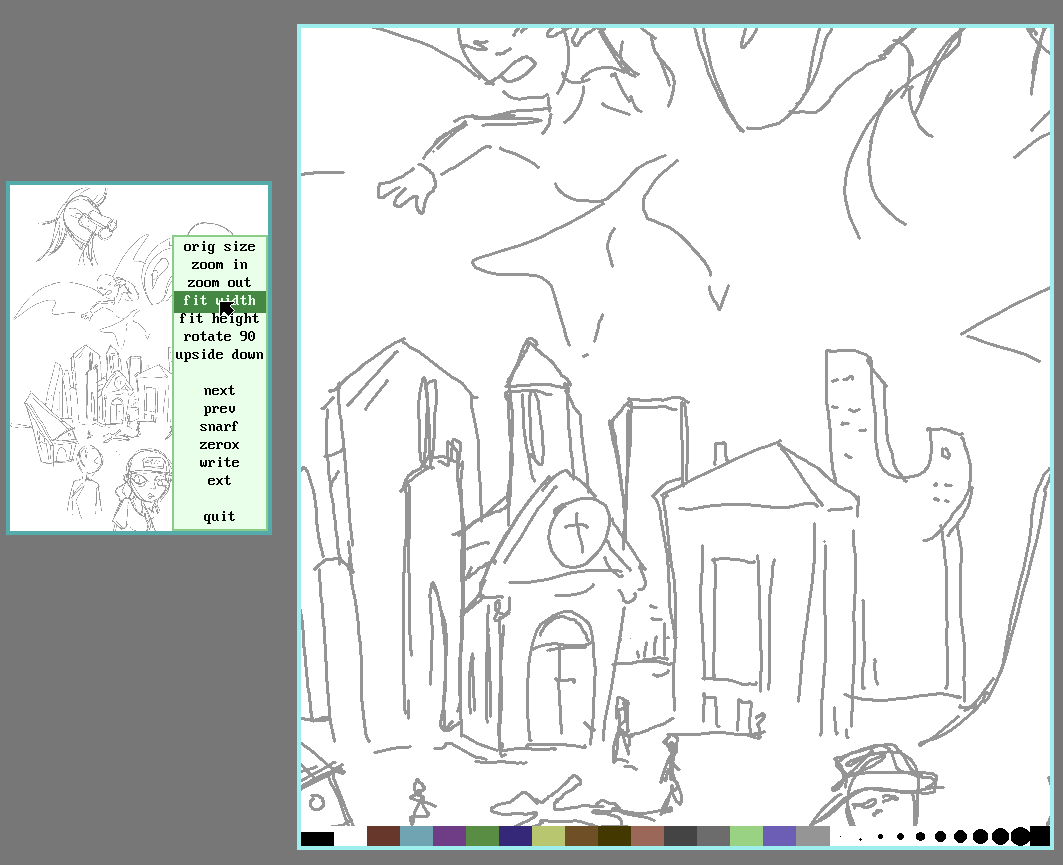
Now whenever you save the picture you're drawing in paint(1),
update the preview window by selecting one of the fit options.
3.2 vcrop(1), crop(1)
vcrop(1)
vcrop file.name
This is a graphical cropping utility. You can pan around with left mouse. Middle mouse selects the cropping tool, right mouse brings up a list of options - notably this is how you save your cropped picture.
Once the cropping tool is selected, the cursor will change to a cropping cursor. Hold left mouse and drag. You can cancel the crop selection with right mouse.
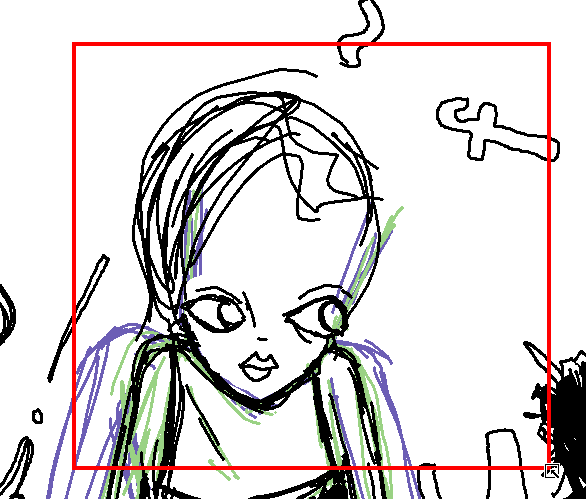
Note that the anchor point of the cropping cursor is the tip of the black arrow, not its top-left corner. The picture will be cropped at the outside edge of the thick red rectangle (whatever is underneath the thick red line will be included in the cropped output).
vcrop(1) is very limited. It won't let you zoom, so if your desired cropage is larger than
the window, it won't help you. Similarly if you need pixel-perfect precision for your crop, read on.
crop(1)
Remove or add strips of pixels.
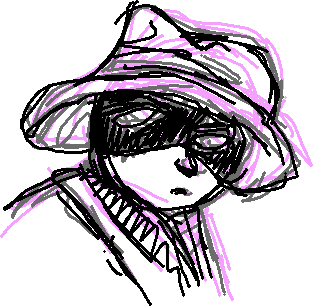
Crop 50 pixels from left and right.
% crop -x 50 mypic.pic > mypic_crop.pic
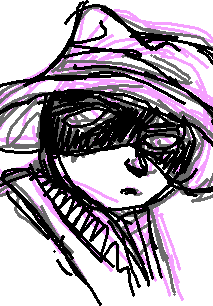
Crop 10 pixels from the left, 15 pixels from the top, 20 pixels from the right and 6 pixels from the bottom:
% file mypic.pic
mypic.pic: Compressed plan 9 image or subfont, depth 32, size 313x306
% < mypic.pic dd -bs 128 -count 1
   x8r8g8b8        -226        -256          87          50  [...]
# -226+10 -256+15 86-20 50-6
% crop -r -216 -241 67 44 mypic.pic > mypic_crop.pic
More information on crop -r at Crop Mathematics (3.5.1).
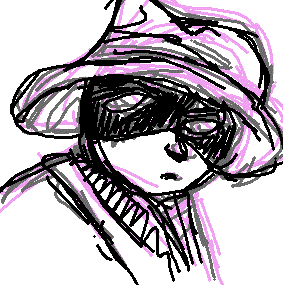
Add 10 pixels of white border, then add 4 pixels of plan9 blue:
% crop -i -10 -b 255 255 255 mypic.pic | crop -i -4 -b 159 237 239 > mypic_with_border.pic
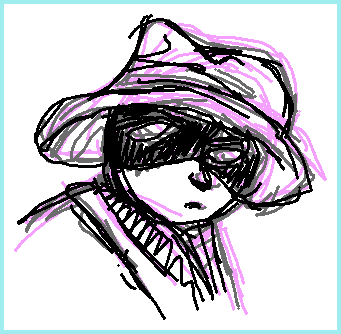
3.3 resize(1)
Make your pictures bigger or smaller.
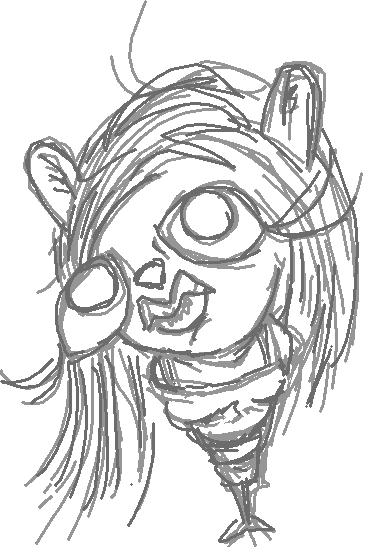
% file mypic.pic
mypic.pic Compressed plan 9 image or subfont, depth 32, size 365x559
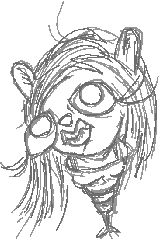
To preserve the original aspect ratio, only define x or y.
% resize -n -y 245 mypic.pic > mypic_resized.pic
% file mypic_resized.pic
mypic_resized.pic: Compressed plan 9 image or subfont, depth 32, size 160x245
You can of course combine everything:
% crop -i 20 mypicture.pic | resize -n -x 640 -y 200 | page
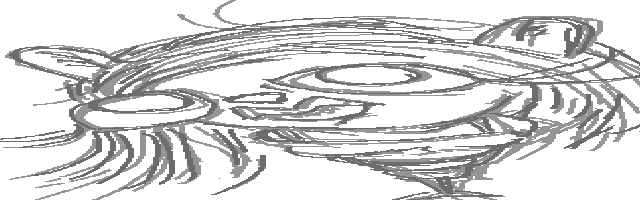
3.4 rotate(1)
Turn pictures around. Flip them upside down. You can only rotate in increments of 90.
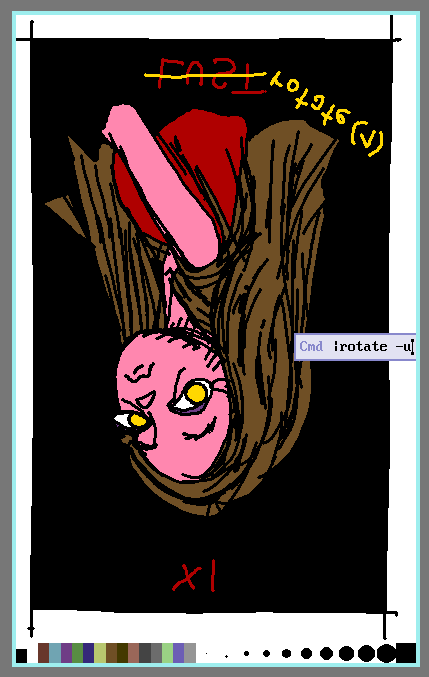
Rotate by 90 degrees clockwise:
% rotate -r 90 my.pic > rotated.my.pic
Flip upside down and mirror horizontally:
% rotate -ul > flipped.my.pic
3.5 Specific Canvas Size
For when you need to define an exact size of your drawing area.
- start
paint(1) - touch the screen with a white brush a little (you have to do this so that the next step saves the picture as an image file and not an empty file)
w empty_canvas.pic- if you run
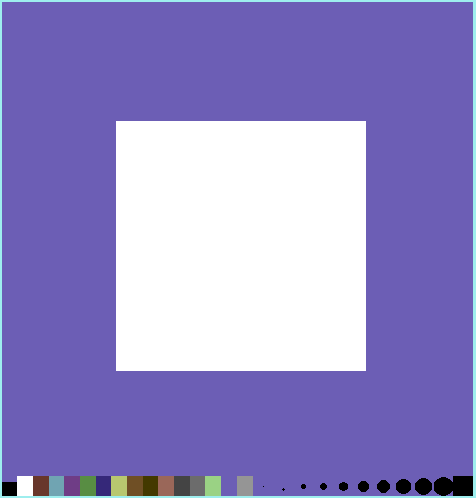
page empty_canvas.pic, you should see a white rectangle resize -n -x 250 -y 250 empty_canvas.pic > empty_canvas_250x250.pic(this will fail if the file is empty)cp empty_canvas_250x250.pic mypicture.picpaint mypicture.pic
The final command will open paint(1) with a canvas size 250 pixels tall and wide. However
you cannot actually see the edge of it. Select the fill tool, pick a random color and middle click
it. You will see a clear division between the canvas and the rest
of the window. Save the picture and run file mypicture.pic. You'll see that it reports
250x250.
Once you start drawing, you will again realize that paint(1) does not prevent you from
drawing over the edge of your canvas. Instead of ignoring those lines, it will expand the picture (2.2).
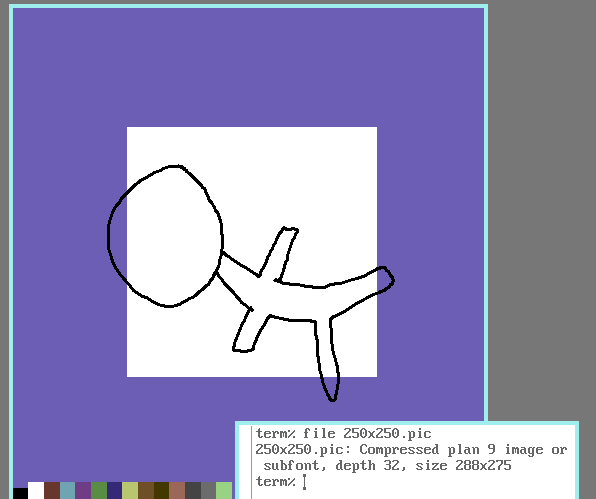
There are a three options:
- not caring about the lines that go over the edge of your canvas, and using mathematics to crop them off after you're done drawing
- priming your canvas with an even extra margin that you can crop off after you're done drawing
- just draw crop marks
3.5.1 Crop Mathematics
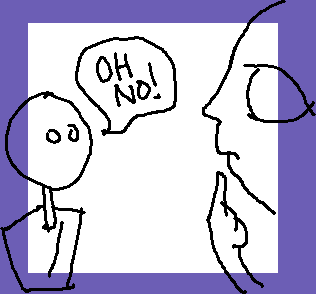
Once you have this finished picture that was intended to be 250x250 pixels large,
we can see with file(1) that it grew to 316x294.
term% file 250x250.pic
250x250.pic: Compressed plan 9 image or subfont, depth 32, size 316x294
Firstly let's use vcrop to minimize the extra margin. Save the cropped picture and open it with page. Zoom in real close until you can confidently see how many pixels are going over the edge of your desired canvas.
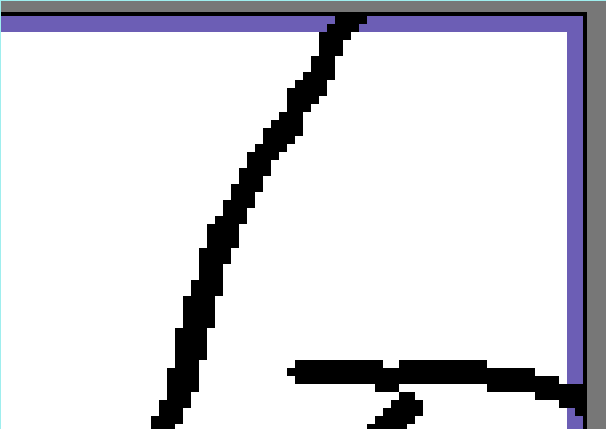
Examine how many pixels it goes over the edge. In my instance it is: 1px to the left, 2px to the top, 2px to the right, 3px to the bottom
Compare to the actual size of the picture:
term% file 250x250.pic
250x250.pic: Compressed plan 9 image or subfont, depth 32, size 253x255
Do the mathematics:
Get absolute coordinates of your picture.
% < 250x250.pic dd -bs 128 -count 1 # get the coordinates
   x8r8g8b8         612         283         865         538         381  [...]
The first four numbers 612 283 865 538 are the coordinates.
#The formula
 crop -r a b c d
a=612 + amount of pixels to remove from the left   (612+1=613)
b=283 + amount of pixels to remove from the top    (283+2=285)
c=865 - amount of pixels to remove from the right  (865-2)
d=538 - amount of pixels to remove from the bottom (538-3)
% crop -r 613 285 863 536 250x250.pic > finished_picture.pic
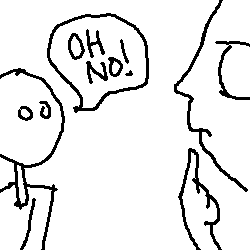
Done.
3.5.2 Extra Margin
Instead of having to do rectangular crop mathematics, it's more convenient to prime your canvas for drawing over the edgeline before you start.
  % resize -n -x 250 -y 250 empty_canvas.pic > empty_250x250.pic
  % crop -i -25 -b 250 100 100 empty_250x250.pic > empty_with_margin_250x250.pic
  % cp empty_with_margin_250x250.pic mypicture.pic

This will give you a 250x250 white canvas with a 25 pixel room for error on each side. Draw your picture. You can't go over the red space or the canvas will expand unevenly and you'll have to do crop mathematics.
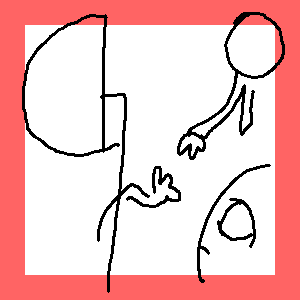
% crop -i 25 -b 250 100 100 mypicture.pic > finished_picture.pic
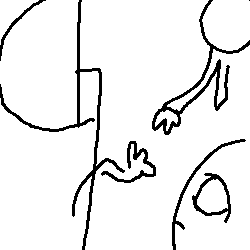
And just like that the extra red space is removed and the finished output is exactly the desired 250x250.
3.4.3 Just Draw Crop Marks
This is mainly the same as the first option, but with the eraser tool in mind.
Open your empty canvas in paint. Middle click a random color to see the division. Zoom in real close, select the smallest brush and draw crop marks into the top-left and bottom-right corners.
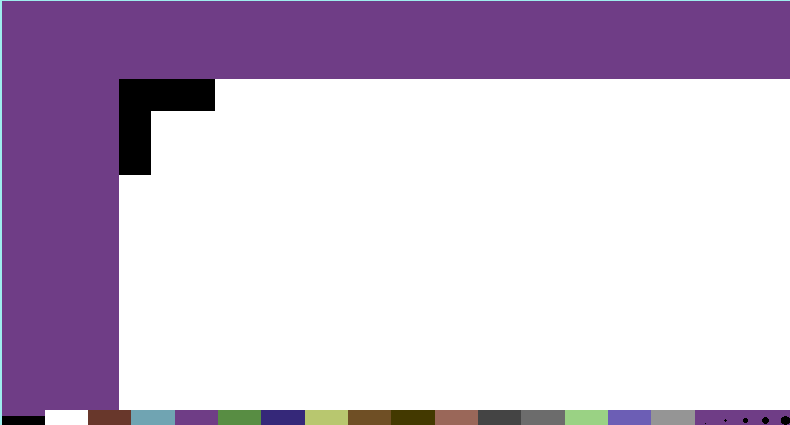
You can change the background color to whatever you want now.
After you're done drawing, minimize the extra space with vcrop and use crop mathematics.
3.6 Faux layers: Slight Return
Acquire pico:
% git/clone https://github.com/qwx9/pico
It's a script you run. It is an incredibly powerful tool for manipulating images. The following is just a nail clipping of all it can do. Learn more about it: nopenopenope.net/posts/pico
In this example, I am using the color HotPink (#ff5fd7) as the sketching
layer. I drew over it with black. The finished picture is called
pink_layer.pic.
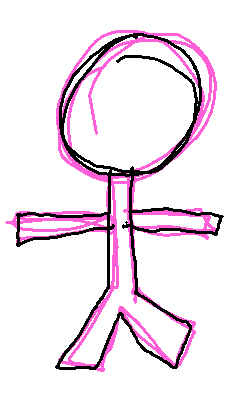
Get the decimal values of 0xff 0x5f 0xd7 with pc(1):
term% pc
; dec(0xff)
255
; dec(0x5f)
95
; dec(0xd7)
215
Replace HotPink layer with background color (white):
#the formula
RR, GG, BB = decimal values of the color to replace
OR, OG, OB = decimal values of the target colorj
(for white you can use either 255,255,255 or Z,Z,Z)
(im[x,y,0] == RR && im[x,y,1] == GG && im[x,y,2] == BB) ? (z == 0 ? OR : z == 1 ? OG : z == 2 ? OB : Z) : im
#example
term% pico
!r /usr/glenda/pink_layer.pic im
(im[x,y,0] == 255 && im[x,y,1] == 95 && im[x,y,2] == 215) ? (z == 0 ? Z : z == 1 ? Z : z == 2 ? Z : Z) : im
page(1) opens with the edited picture. Middle mouse, write, enter the file name you want to save it to.
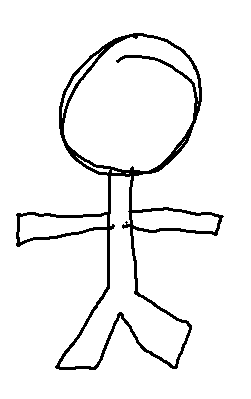
Replace every color that is not white with black:
#the formula
RR, GG, BB = decimal values of the color not to replace
OR, OG, OB = decimal values of the color to replace everything else with
(im[x,y,0] != RR || im[x,y,1] != GG || im[x,y,2] != BB) ? (z == 0 ? OR : z == 1 ? OG : z == 2 ? OB : Z) : im
#example
term% pico
!r /usr/glenda/pink_layer.pic im
(im[x,y,0] != Z || im[x,y,1] != Z || im[x,y,2] != Z) ? (z == 0 ? 0 : z == 1 ? 0 : z == 2 ? 0 : Z) : im
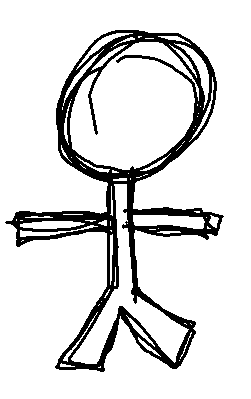
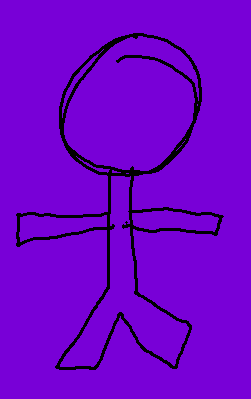
Replace every color that is not black with blue:
(im[x,y,0] != 0 || im[x,y,1] != 0 || im[x,y,2] != 0) ? (z == 0 ? 120 : z == 1 ? 0 : z == 2 ? 215 : Z) : im
3.7 Tracers Work Both Ways
Would you like to trace any picture on the internet? You can. This example again makes use of pico.
Procure an image file, convert it to 9front format.
% hget http://img.triapul.cz/fahwui.jpg | jpg -c9 > to.trace.pic
% pico
!r to.trace.pic im
z == 3 ? Z : (im + Z) / 2
page(1) opens - write to to.trace.bright.pic.
Open to.trace.bright.pic in paint(1). Right click one of the default
colors and put in HotPink: ff5fd7.
% paint to.trace.bright.pic
Draw over the picture. Save it.
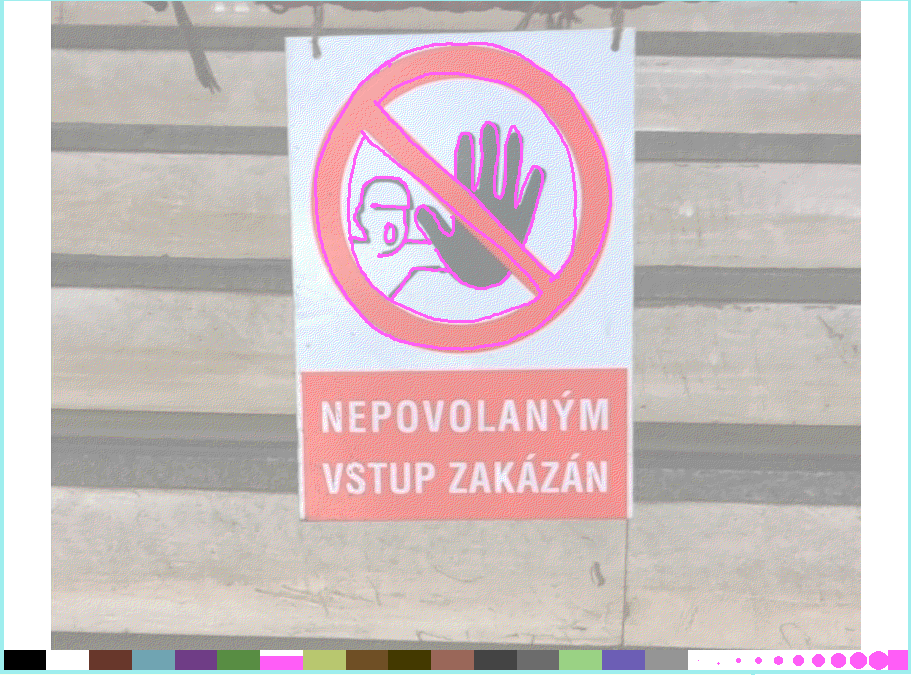
% pico
!r to.trace.bright.pic im
(im[x,y,0] != 255 || im[x,y,1] != 95 || im[x,y,2] != 215) ? (z == 0 ? Z : z == 1 ? Z : z == 2 ? Z : Z) : im
page(1) opens - write to whatever.pic
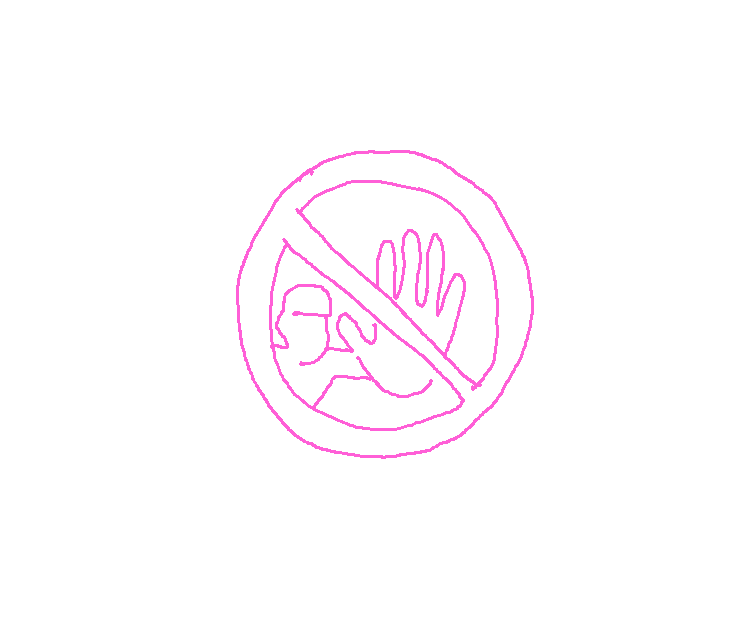
3.8 Palettes
Examine git.sr.ht/~amavect/makeu
4 Get it out!
Now you want to show your drawing to your friends.
4.1 Conversion
Since anything you can draw in 9front is basically pixel art, there's
no reason to convert your picture to anything but PNG. But
nobody will stop you. See jpg(1) to explore all the
other formats. PNGs will be always smaller and sharper (read: look exactly
like they did in paint(1)) than JPGs.
% topng my_picture.pic > my_picture.png
That's it.
You cannot use paint(1), crop(1), vcrop(1) on PNGs (or any other format that's
not in image(6)). You can still display them with page(1).
If you ever lose your original, you can convert the PNG (or any other PNG) back to 9front's format.
% png -c9 my_picture.png > my_picture.pic
Afterwards you can edit my_picture.pic again.
4.2 Stop 9front
A picture is produced, cropped, converted, but how can you post it to your social medium now? Following is a list of methods, sorted from simplest that require no further technical skills and understanding, to less simple:
- open your picture in
page(1), take a picture of your plan9 computer screen with a mobile phone - connect a FAT usb drive to your plan9 computer and copy the picture to /shr/sdS0M3TH1NG
- sshfs(4) the picture to a unix computer
- drawterm into your plan9 computer from a unix computer, copy the picture to /mnt/term/some/where (this is your unix computer's drive)
- post it on snac with mothra(1)
- email it to yourself from your plan9 computer
- sshfs(4) the picture to a a virtual machine inside your plan9 computer
- copy the picture to your plan9 webserver and download it from a different device
5 EOF
Now you really know How to draw (with 9front).
5.1 Special Thanks
sl, qwx, rodri, qrstuv, aiju, cinap, noodle, Renée French, Tom Duff
5.2 Resources
- 9front
- Image Manipulation on Plan 9 Using pico
- fuck art
- Free Carrots #8: How to draw
- occ
- process
- snac
- I'm not really Stanley Lieber
I don't even use plan9.